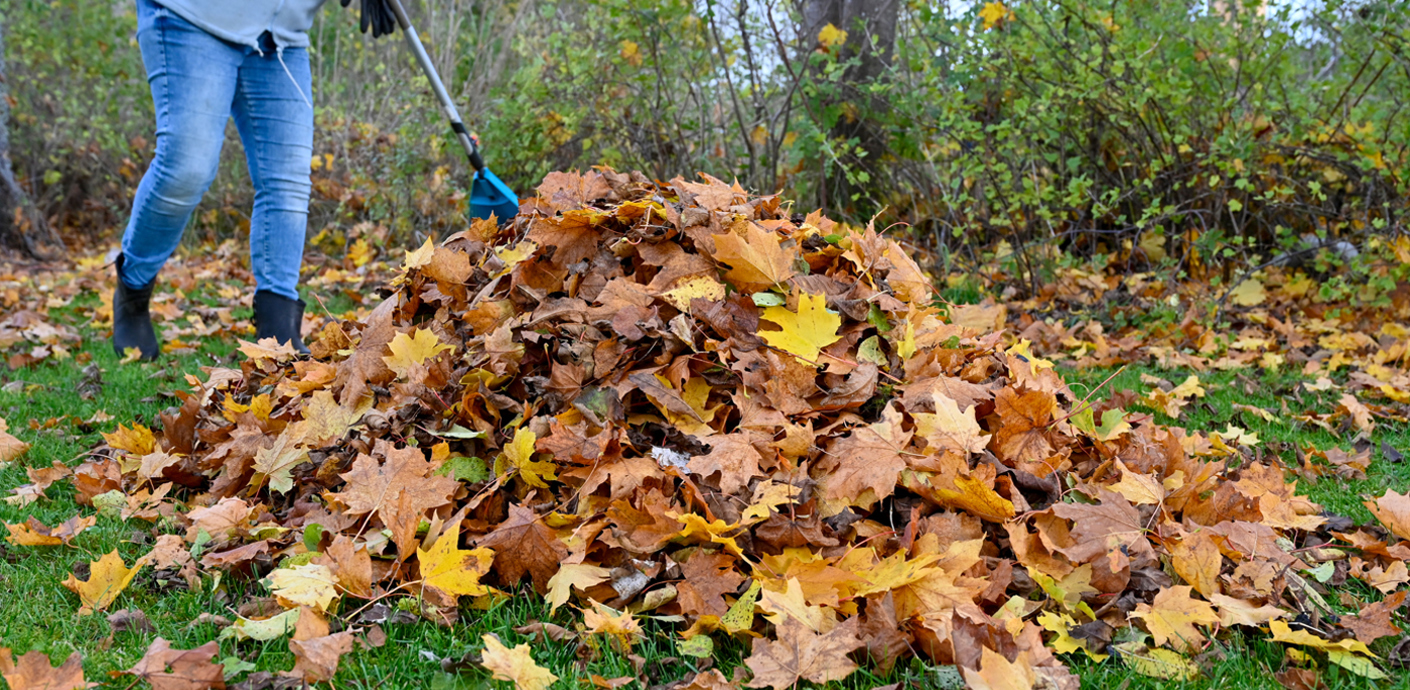
Compost your autumn leaves
Make the perfect leafmould.

How to make the perfect leafmould
As autumn arrives, the colourful leaves falling in your garden can quickly pile up, disrupting the balance of your compost bin.
Instead of letting them go to waste, turn them into leafmould - a dark brown, crumbly, nutrient-rich material perfect for improving your soil, conditioning your lawn, and mulching your garden.
Step 1: Collect the leaves
Gather small quantities of leaves by hand using a rake. For larger amounts, a leaf blower vacuum can help by shredding the leaves into smaller pieces, speeding up the decay process.
Step 2: Add moisture
If the leaves are dry, moisten them with a little water to help them break down.
Step 3a: Bag it up
Place the leaves in a large bin bag, punch holes in it for air circulation and store it in a secluded area of your garden.
Step 3b: Use chicken wire
Alternatively, create a simple container using plastic or wire netting with a few stakes. This reusable option can be adjusted to fit your needs.
Step 4: Patience is key
Leave the bag or container untouched for one to two years. The longer you wait, the finer the leafmould will be.
Step 5: Mulch
Young leafmould (one to two years old) can be used as mulch around shrubs, trees and vegetable beds. Just add it as a layer on top of the soil.
Step 6: Soil improver
Dig young leafmould into your garden beds to enhance the soil for sowing and planting.
Step 7: Sowing mix
Well-rotted leafmould (two years old or more) can be used to create a seed-sowing mix. Combine it with equal parts of sharp sand and garden compost.
Step 8: Potting
For potting established plants, mix well-rotted leafmould with sharp sand, garden soil and compost in equal parts for an ideal potting compost.
We have teamed up with Get Composting to help you buy a composter at a reduced price. Find out more on our waste prevention page.
